Friday, September 30, 2011

Benjamin's Baptism Cake

My girlfriend's son was being baptized and she asked me to make a baptism cake.  Thanks to the wonderful Internet I found loads of ideas and for the first time saw a cross shaped cake.  She liked the idea as well and I went with it.  The cake is made up of a layer of yellow and chocolate cakes.  Both baked in 9 x 13 pans.  I cut each in half so they were roughly 4.5 x 13.  I took one of each of the 4.5 x 13 sections and divided it equally into 3 parts.  So the cake became as long as ~17.5 inches by ~13.5 inches wide.  I put the chocolate layer down first and put a layer of raspberry filling in the chocolate layers.  Then I put a layer of vanilla buttercream on top and added the yellow cake.  The yellow cake was also cut in half and vanilla pudding was added.  The whole cake was then covered in buttercream icing.


I made my roses and all the detailing decorating with buttercream icing.

Saturday, September 17, 2011

Cupcakes!!!

So a girl at my work asked if I could make her 2 dozen chocolate chip cookies and 18 decorated cupcakes for a visit to her daughter at Illinois State.  She wanted flower decorations on the cupcakes.  I made 9 vanilla cupcakes and 9 chocolate cupcakes.  Below are pictures of how the cupcakes turned out.


I also managed to make the Illinois State Mascot - the Red Bird on a few of the cupcakes.  I hope they enjoy! They sure looked tasty!

Friday, September 16, 2011

Bakugan Cake & Cookies

It's been a busy week!! I had a cake, 26 decorated cookies, 2 dozen chocolate chip cookes and 18 decorated cupcakes due on the same day!!! But I survived! Am exhausted but made it. I'm so happy with how everything turned out.

So here are the cookies I made with the Bakugan characters. My friend from when we were wee little people asked if I could make these and a cake for her son's birthday party. Of course I totally had to say yes. It was a challenge and fun too! I had never heard of this cartoon/toy and was a bit nervous when I saw some of the designs. But my art background pushed me forward. Thanks to numerous photos on the internet of cookies and cakes for Bakugan I found my inspiration. Here is a link to the person I can thank for the ideas on the cookies: http://cookiegeek.deviantart.com/art/Bakugan-Cookies-153323555?q=gallery%3Acookiegeek%2F16349956&qo=11

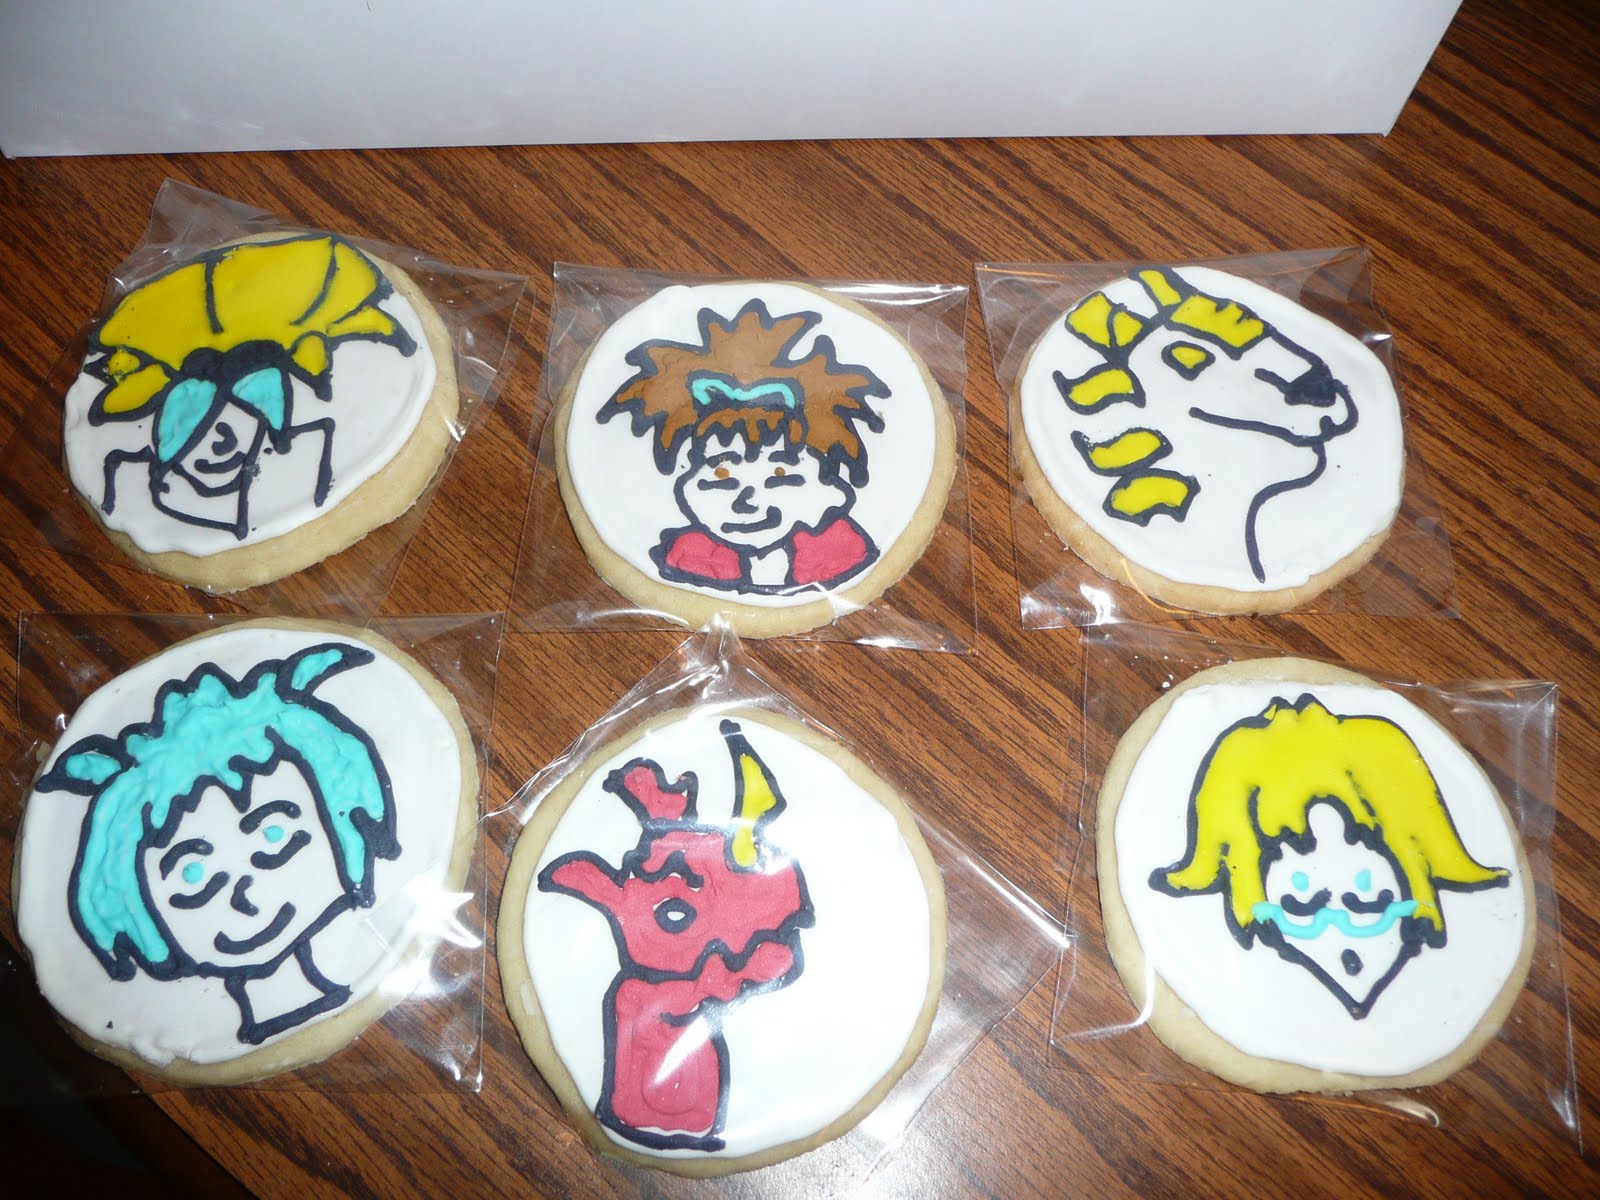
I made 26 in all. They were going to be used as party favors for all the little rascals at the birthday party.

Then the cake!!! I had found so much inspiration for the cake. The background of the cake was made using Wilton's Color Mist sprays in Red, Yellow & Black. I took a piece of parchment paper and cut out my design and laid it on the cake after I frosted it in buttercream frosting. Then I applied the color mist.

Then I piped on the greeting in black and also the shell border. Then I worked on the images of the two characters and then the Bakugan logo.
Just another view.
Here is a view of the side of the cake. I wish the color mist of the black would have come out darker but it still looks neat.
And here is the whole view! I hear the guest of honor was very excited about his goodies! I hope the party goes off without hitch tonight! Happy Birthday Jack!!!!


Monday, September 12, 2011

Airplane & Hangar Cake

This past weekend I finished up a birthday cake for a 1 and 3 year old. The request was an airplane and I stepped it up with a Hangar cake too for the 1 year old to use as his "smash" cake.


I made the propeller out of white chocolate. I tried to make the cake look like the airplane was looking to land and that it was flying through the clouds.


A view of the birthday greeting.


Back view of the plane.


Here you can see that the plane is elevated above the half sheet cake.


Close up of the plane.


I put the kids' last name on the plane.


Side view showing the detail on the hangar.


Back view of the hangar.


Better front view of the hangar.


Another back view showing the "bushes", "trees" and "clouds".


Full back view of the cake.


And finally, a view from the top. All of the cake was made with a white moist cake batter. I swirled in some blue food coloring in the batter so the cake ended up looking blue when you cut into it. I didn't do any fillings. I also made a dozen cupcakes and had a few leftover which a couple of my friends taste tested for me and said were delicious! I hope the guests of honor were happy!!!

Tuesday, September 6, 2011

Mom's Bday Cake from 6 years ago

Another cake from the archives!!!  Here is the cake I made for my Mom's 62nd birthday.


I'm actually impressed with my handwriting on this cake but then I remembered that I used the guides that came with my Wilton Cake Decorating kit.

This is a little blurry but I did some more basket weaving on this cake.


I also did a few roses on the cake.


I'm real happy with how this cake turned out.

Monday, September 5, 2011

Mother's Day Cake 6 years ago!

So I'm pulling in some archived cakes!!!  This particular one I made 6 years ago.


Here I did some basket weaving with a rosette border.


I had some pretty flowers on the cake.  A few daffodils and roses.


Oh and a pansy!


I'm glad I took photos of my past cakes because it's neat to see how far I've come!  Thank goodness my writing has improved!!

Sunday, September 4, 2011

Football Cake Pops

Today is my husband's fantasy football draft with a bunch of his friends.  They do this every year so since I joined the bandwagon on making cake pops I offered to make football ones.


These were the best ones out of just over 2 dozen that I made.  Unfortunately, I learned what many beginner cake pop makers learned, that cake pops can crack and just not turn out.

Here's a clear example of one that decided to pop out some of the cake inside through part of the weakest point of the cake pop.

And here are photos of the many cracked football pops.  It's good to go through something like this because I learned a lot for sure making these.  All the other cake pops I've made I've really lucked out and not had to experience this.  But after reading about them a lot I realized the key errors I made.  First, I shaped them too tightly.  And secondly, I put them in the freezer and then dipped them.  The cake balls need to be shaped tight enough but not too tight that they can't expand once they get dipped in chocolate.  I froze them because I had just shaped them into footballs and needed to dip them.  I typically shape them the night before and dip them the next day.  I ran out of time.  So it's good to have this happen so I know now how to avoid the same mistakes in the future.


Here are all the football cake pops bagged and ready for the party.

And OOps!!  One just HAD to be tested for quality purposes!!!  My hubby requested chocolate cake with Oreos.  Yummy combination!  Though many of them are cracked, his friends sure won't mind!

Thursday, September 1, 2011

Airplane Practice Cake & Wilton's Color Mist

So I'm prepping and planning for a 1st & 3rd birthday party cake.  The challenge - make an airplane cake and have enough cake to serve 45-50 people.  So after some much thought I came up with the layout of having a 1/2 sheet cake, plus two smaller cakes - 1 airplane and 1 hangar.  The hangar will be used as the 1st birthday boy's smash cake.  Then add a dozen cupcakes which should be fun for the little kids.  Who doesn't love a cupcake?!?!

So in my recent week of baking I had made an extra 8 x 8 cake.  I knew when I had the time I was going to test out the airplane body and how I wanted to carve it, etc.  So this is my first attempt.  I'm so pleased with it.  I didn't do any detailing because this was just my test.  I really wanted to make sure I could get the shape and size appropriately.  Plus figure out the timing on it so I know how to plan out my week when I make the real deal!

I also came across a new product - well new to me at least.  Wilton's Color Mist.  I have a photo of the can at the very end of this post.  I won't use it on the end product but I wanted to see how it was going to turn out because I'm toying with using it on another cake I'll be making next week too.  I think I still need to do some practicing.  But I dirty iced the plane cake with basic buttercream and then put it in the freezer to set as I didn't have time to let it set in the fridge over night.


Then I put another clean layer of buttercream on the plane and then sprayed it all with color mist.  Here is a photo of the plane from above.  It's all cake minus the "white clouds" which is just frosting.


And here is the color mist.  A few tidbits of info.  Like hairspray - when this is used you can definitely smell an "off" kind of odor because of it being an aerosol can.  So definitely use this in a highly ventilated area.  I ended up blowing my nose about a 1/2 hour after I was done decorating and cleaning up and not to be gross or anything - but the kleenex was covered in red coloring from the mist.  Be careful as with any kind of "painting" that you don't layer on too much.  I had a couple of heavy spots which made little runs on the frosting.  I attempted to use a paper towel to clean them up but it ended up removing part of the frosting instead of just the running color.  Would I use the product again?!?  Most likely.  Until I can afford and get my own airbrush machine, I will continue to play and work with these color mists.